By Group 10 (13)
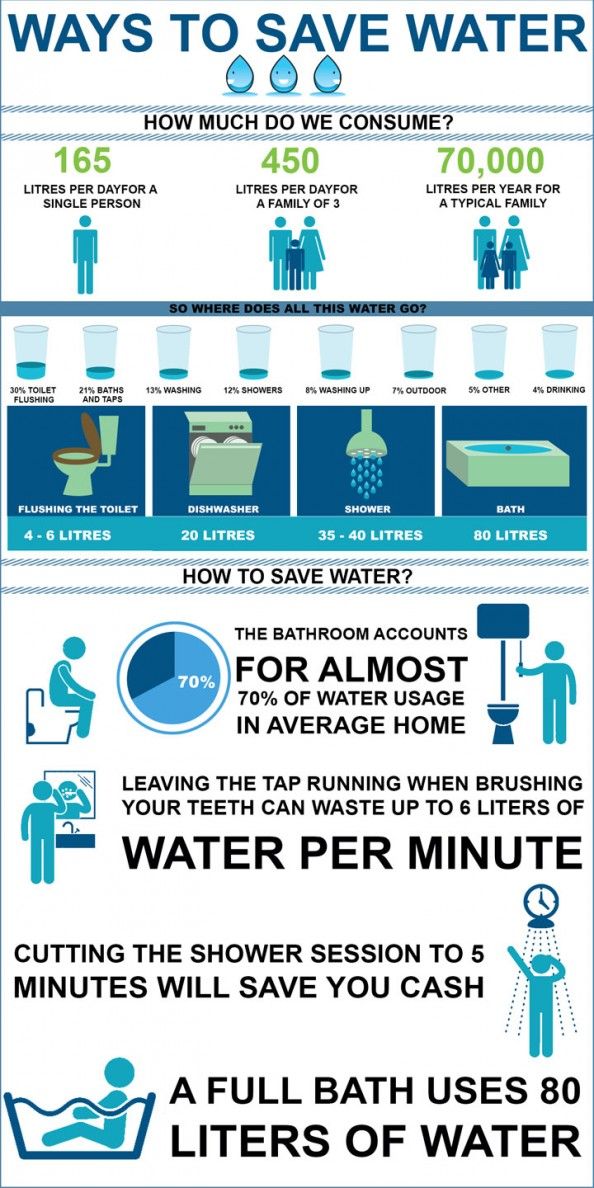
Recycling is the process of turning waste and used items into new, useful materials or products. This not only gives the old items a new lease of life, it also reduces the amount of raw material used to make new things from scratch. Recycling can benefit your community and the environment.
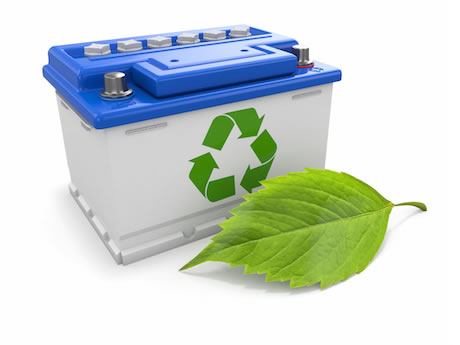
Recycling serves 2 purposes. First, it avoid landfills and helps in reducing air and water pollution and secondly, valuable material like aluminum cans and plastic and glass are reused in other forms and not wasted. Be mindful of what you do, pay attention to the items you buy and always check yourself to see if you really need it or if it comes in a package with less waste. We can all do our part and we will make a huge difference.
Recycling starts at home. Sometimes it may feel as though recycling your household waste is just a drop in the ocean when you compare it with the damage caused by industry worldwide.
Yes, of course big companies create horrendous amounts of waste and pollution, but if every household recycles, it really does make a difference. Recycling in the UK saves more than 18 million tonnes of CO2 each year and that’s equal to the amount we’d save if we took 5 million cars off our roads. And the consequences of not recycling at all are too horrible to contemplate a world of festering landfill sites and islands of plastic clogging our oceans.
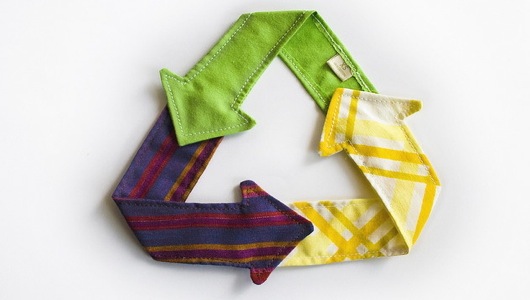
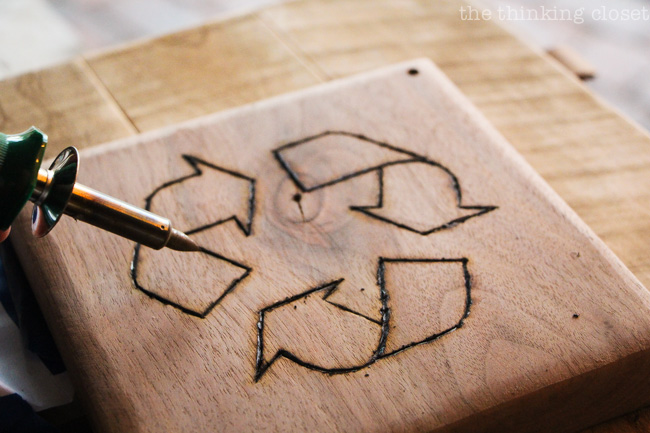
Recycling includes the simple three steps, which create a continuous loop, represented by the familiar recycling symbol. First is to collect and process; second, manufacturing; and third purchasing new products made from recycled materials.
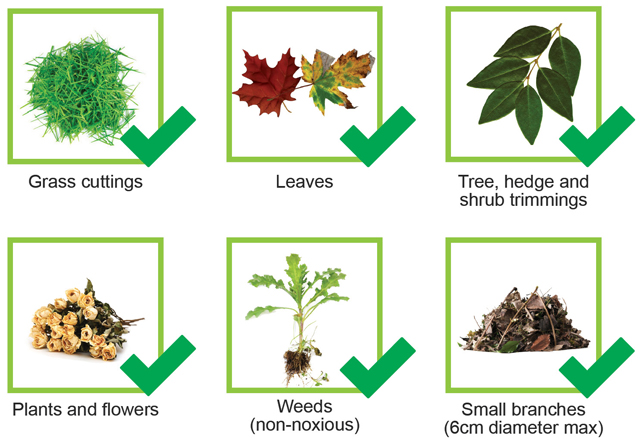
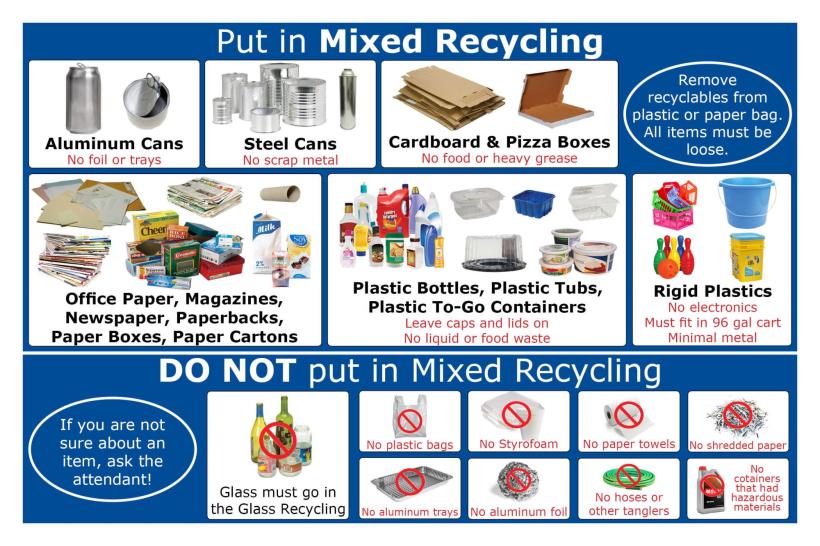
To make recycling feels a lot easier, there’s a few tips we can follow easily. First, keep your recycling boxes somewhere central and easily accessible. Otherwise it can become too much of a chore to recycle that plastic bottle of shampoo you used up in the bathroom or the empty drinks can dropped on the floor of your car. Secondly, recycling isn’t just about your weekly council collection. Take old clothes and books to your local charity shop or swap them with friends. Book a spot in a car boot sale and make some money from your unwanted stuff. Set up a charity book shop or bring-and-buy sale at work. Third, if you’ve got a garden, get a compost bin. You can put all your vegetable peelings, eggshells, nutshells, grass cuttings and prunings in there, as well as cardboard and shredded paper.
There are two important things to remember when we talk about recycling. Firstly,
throw away all the garbage in your house that is of no use to you or you think you can’t utilize it in some other way. If you don’t have these boxes, you can easily purchase a suitable container for each recyclable product (e.g. paper, plastic, and glass), and then take these down to your local recycling center. Secondly, try to avoid the use of plastic bag and plastic paper as much as possible. They not only pollute the environment but also helps in filling landfills. Also, when you shop try to look out for the products that have least packaging. Every millions of dollars are spent only in packaging of these products which ultimately go to the garbage sites.
Recycling carries a lot of benefits. The primary benefit of recycling is that it helps to protect the environment. Recycling can help remove the problem posed by huge volumes of waste which are simply dumped at sites and still need to be dealt with. in many cases, this waste is simply burned. However, doing so releases great volumes of C02 into the air, something which can contribute significantly to the problem of global warming when carried out on a large scale. If increasing volumes of waste are recycled this means that the volumes of waste which are simply burnt, releasing harmful volumes of gasses into the air, are decreased. In this way, recycling can contribute towards tackling one of the causes of global warming and pollution.
Besides, recycling can also make financial as well as environmental sense for businesses. The cost of using recycled material is much less than the cost of creating brand new material with which to work. Therefore, through using recycled materials, businesses can lower their costs. When recycling is implemented on a large scale, the savings that can be made can be hugely significant. In a similar way to reducing costs, recycling material is much more energy efficient then creating new material. Therefore, increased recycling can lead to lower levels of energy consumption. A decrease in energy consumption can lead to less energy needing to be created, which in turn leads to less pollution being created and, overall, reduces environmental damage.
As recycling involves reusing resources it can help conserve the planets natural resources. Rather than extracting raw materials from the earth, recycling provides us with a more environmentally friendly alternative. Decreasing the demand for raw materials can also help stop large parts of forestation, such as the Amazon, being destroyed in the search for the natural resources within. In this way, recycling can help us slow the rate at which we extract and mine minerals and other resources from the earth, thus protecting and helping to conserve the earth’s natural resources for future generations.


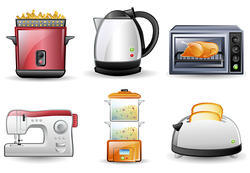

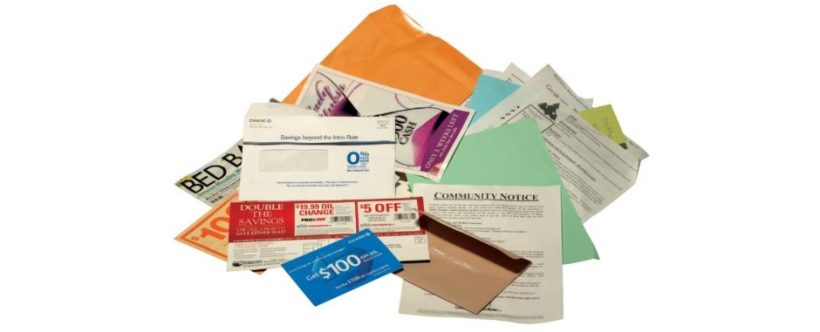

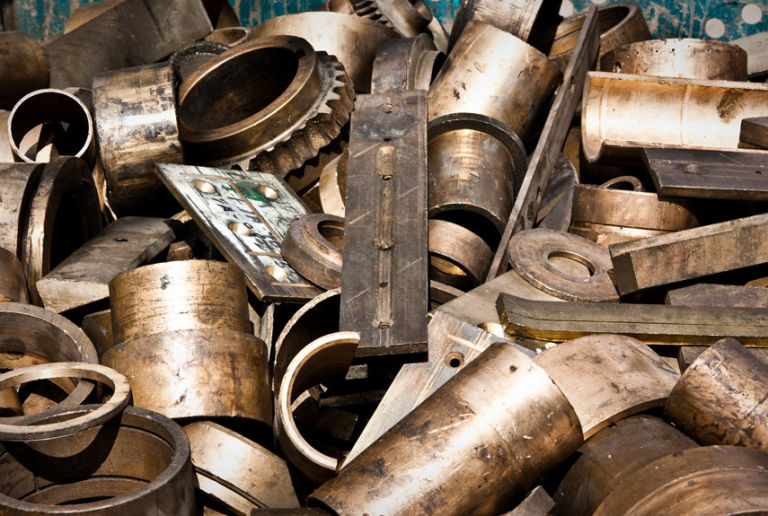

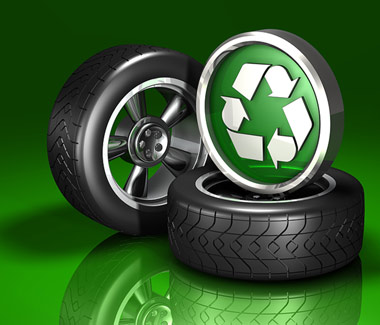
 MATERIALS NEEDS:
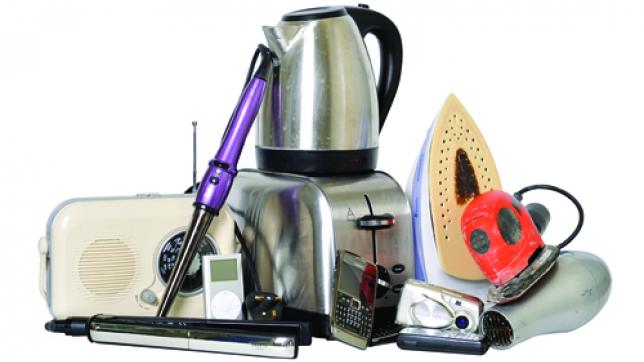